What is rucking?
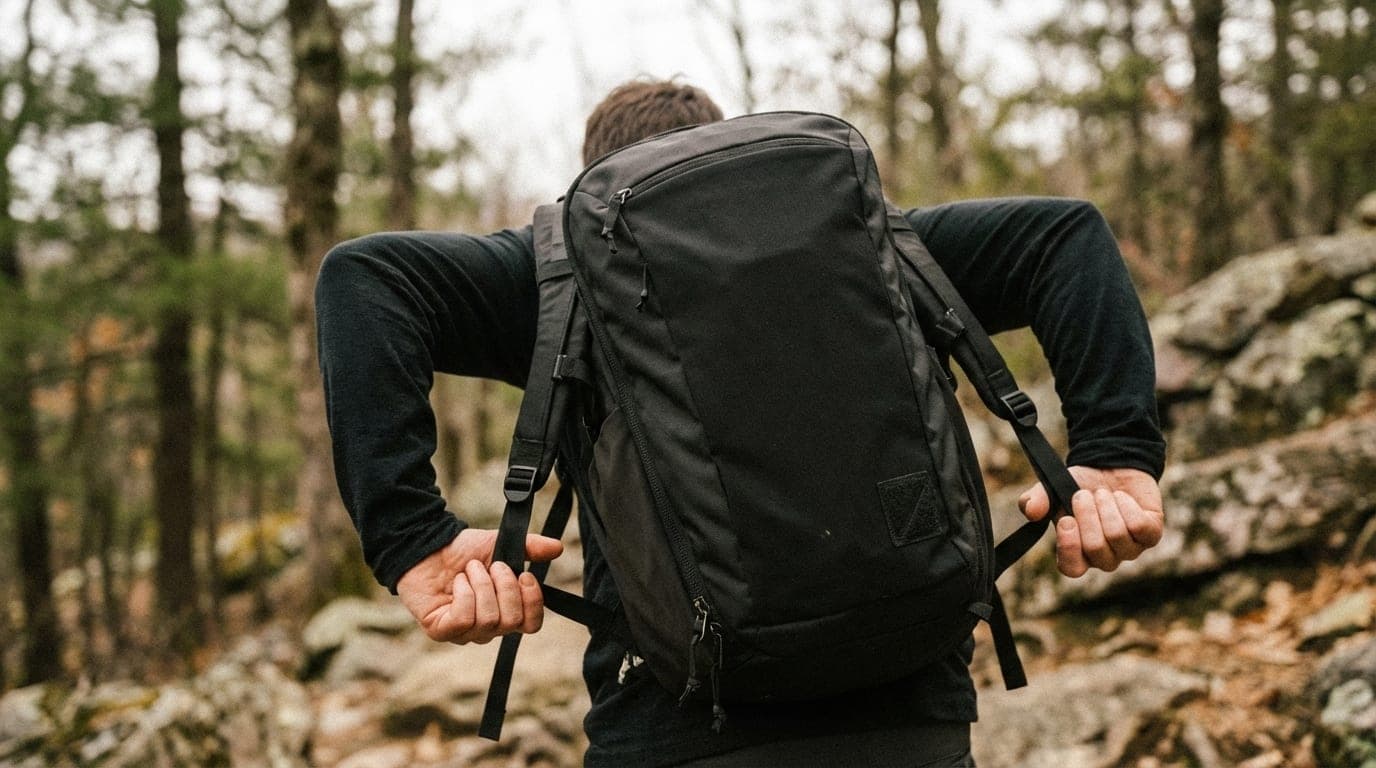
Rucking is walking with weight on your back. That is the entire sport. For the plain-English definition and common beginner myths, see what is rucking.
- Grab any backpack you already own.
- Check your walking baseline. If a 30-minute unloaded walk is not comfortable, start with Couch to Ruck. Otherwise, try 5 to 10 lb or less, padded and secured.
- Walk 20 minutes at conversational effort. A second session is optional once you have recovered, with at least one unloaded day between.
That is enough to begin. Do not increase weight, time, and frequency together. The rest of this guide explains what to change next.
You put weight in a backpack, you put the backpack on, and you walk. No coach, no gym, no monthly fee, and very little learning curve. Build comfortable unloaded walking before adding a pack.
The word comes from "rucksack" - military slang for a framed backpack. Soldiers have been rucking for centuries as part of physical training, and over the last decade it has crossed over into mainstream fitness. Companies like GORUCK brought it to the civilian world through organized events and purpose-built gear, but you do not need any of that to start. A school backpack and some books will do the job. Once you are rucking regularly at heavier loads or longer distances, a more structured pack with a frame sheet makes a noticeable difference in comfort.
Rucking is simple and inexpensive to start. You need a bag, a manageable secured load, and footwear that is comfortable for walking.
Rucking requires you to walk. The learning curve is short - most people can get started in minutes and refine the rest as they go.
Rucking can build strength and increase the energy demand of walking with a short learning curve. This guide explains how to start.
Start this week
This starter plan is for someone who already walks 30 minutes comfortably. If that is not your current baseline, begin with Couch to Ruck, which starts unloaded.
Choose a route that is easy to shorten, with no pace target to beat. Add a second session only when the first feels repeatable; leave at least one unloaded day between.
These are conservative editorial starting points, not medical thresholds. Keep the same light load for the first month. Stop for sharp pain, numbness, weakness, dizziness, chest pressure, fainting, or unusual shortness of breath; seek individual guidance when symptoms make exercise uncertain.
The calculator gives a planning ceiling, not a load you need to reach. A higher result does not replace the lighter first-month plan. Use less when the pack changes your stride or feels hard to control.
Choose the gear path that matches your situation
Spend nothing first. Use a backpack with intact straps and a load that cannot slide around. A towel around books, rice, sand, or water bottles is enough for the first sessions. Stop and repack if the load bounces, digs into your back, or changes your gait.
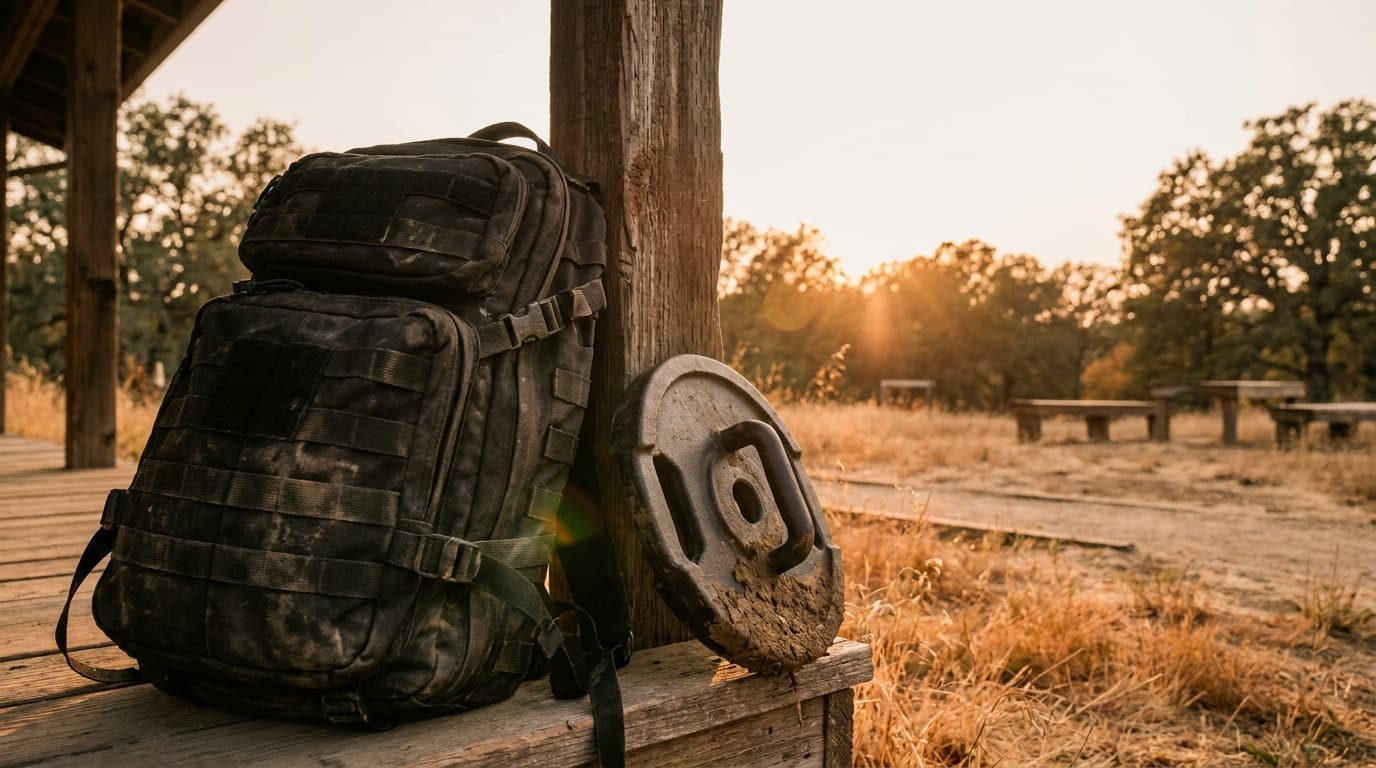
Add a lighter weight without replacing your pack. A flexible 10 lb sand plate is easier to fit into an ordinary backpack than a rigid 20 lb plate. Only consider it if 10 lb already fits your comfortable load. Use lighter improvised weight when 10 lb is too much; a product size should not set your training load.
Buy a purpose-built first ruck only when you know you will keep using it. The Basic Rucker is the current lower-cost GORUCK training pack. Its elevated plate pocket and 30 lb limit suit beginner loads; the Rucker 5.0 is the better choice when dedicated plate training beyond that ceiling is already the plan.
Why ruck? The case for loaded walking
Burns more calories than walking - without the joint stress of running
Adding 20 to 30 pounds to your back increases your calorie burn by roughly 30 to 50 percent compared to walking at the same speed. A 180-pound person walking at 3.5 mph burns about 280 calories per hour. That same person rucking with a 30-pound pack burns approximately 420 to 450 calories per hour, according to the Pandolf equation - the standard metabolic model used by the U.S. Army Research Institute.
Running burns more calories per minute, but it also creates substantially higher impact and joint loading than walking. Rucking sits in a productive middle ground: significantly more work than walking, far less impact than running. For a deeper comparison, see our full breakdown of rucking vs running for weight loss.
The Pandolf equation (1977) predicts metabolic cost of loaded walking using body mass, load mass, speed, terrain grade, and surface type. It remains the gold standard for estimating rucking calorie expenditure and is the basis for our calorie burn calculator.
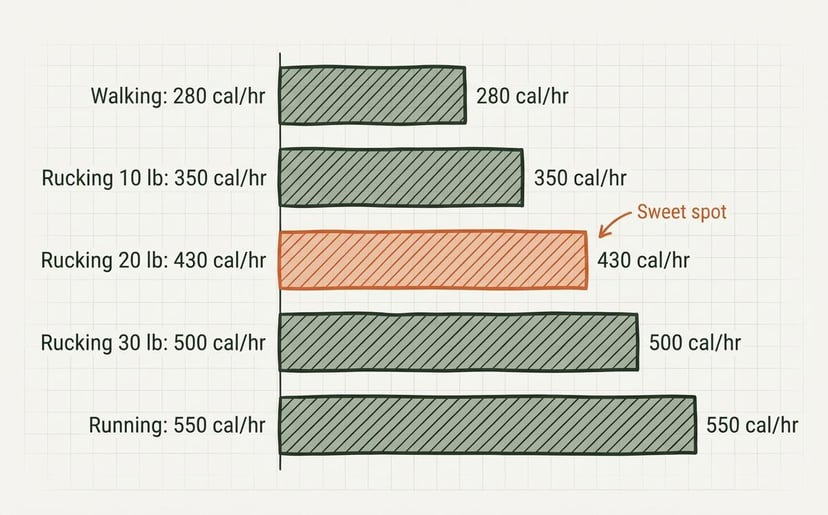
Illustrative example for a 180-lb person at 3.5 mph. Actual burn varies by load, speed, and terrain. Use our calorie burn calculator to get your personalized number.
Builds useful carrying strength
Rucking loads your posterior chain - glutes, hamstrings, spinal erectors, traps, and core - in a way that mimics real-world movement. Carrying groceries, hauling luggage, picking up kids: all loaded carries. The National Strength and Conditioning Association classifies loaded walking as a foundational movement pattern, and research on military populations shows that regular load carriage increases bone density and improves postural stability.
Unlike a barbell squat, you do not need to learn complex technique. The weight sits on your back and gravity does the cueing. Your body adapts by getting stronger in the positions it spends time in.
Requires almost no skill or equipment
Running has a skill floor: cadence, foot strike, hip extension, arm swing. Gym training requires equipment and instruction. Rucking requires you to walk. The learning curve is short - most people can get started in minutes and refine the rest as they go.
You do not need a purpose-built rucksack either. A regular backpack loaded with books, a sandbag, or water bottles is a perfectly valid starting point. We wrote a full guide on how to ruck with a regular backpack if you want to start this week without spending a dollar.
Works as cardio and strength training simultaneously
Most exercises are either cardiovascular (running, cycling) or resistance-based (lifting, machines). Rucking is both. A moderate ruck keeps your heart rate in zone two - the fat-burning, aerobic-base-building zone - while the external load provides enough resistance to stimulate muscle and bone adaptation.
This dual stimulus is why rucking is particularly efficient for people with limited training time. Thirty to 45 minutes of rucking checks both the cardio and strength boxes, and you can do it anywhere with zero setup. For more on the zone two angle, see our zone 2 rucking guide.
Gets you outside and moving
Research consistently links outdoor exercise to lower cortisol, improved mood, and better adherence compared to indoor training. Rucking gives you a reason to walk your neighborhood, explore trails, or just get out of the house with a purpose. Many ruckers describe it as "meditation with weight" - a low-stimulus, low-decision activity that lets your brain decompress while your body works.
What you need to start
The bare minimum
You need three things:
A backpack. Any bag with two shoulder straps that sits close to your body. School backpacks, hiking daypacks, even a sturdy gym bag will work. Avoid messenger bags and single-strap slings - they load one side of your body and create imbalances.
Weight. Books, a sandbag, water bottles, or a bag of rice. Whatever you have that matches your starting result and fits in your bag. Wrap hard objects in a towel and secure the load so it cannot move. When you are ready to upgrade, compare rigid and flexible ruck weights against the pocket you actually own.
Hydration. Bring water, especially for rucks over a mile. A Nalgene Wide Mouth Sustain 32oz fits easily in most packs and keeps water at the right temperature without the environmental waste of single-use bottles.
Shoes you are comfortable walking in. Running shoes, trail shoes, hiking boots - anything with decent arch support and a sole that does not collapse under load. You do not need rucking-specific footwear until you are rucking regularly at 30-plus pounds.
Total cost: no additional purchase.
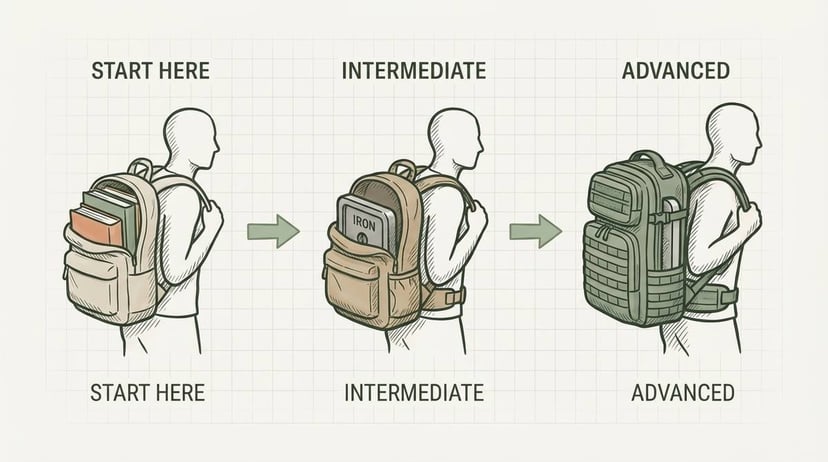
The recommended setup
Once you know you like rucking (give it three sessions), upgrading to a basic kit makes the experience significantly better.
A rucksack with a frame sheet keeps weight stable against your back instead of shifting with every step. A ruck plate or purpose-built sandbag filler sits flat in the pack and does not move around. Trail runners or supportive walking shoes give you a stable platform without the weight of hiking boots.
Budget: start with what you own, add a better weight when the improvised load becomes awkward, and move to a purpose-built ruck only when the added stability is worth the investment.
The purpose-built beginner pick is the GORUCK Basic Rucker. It has a dedicated elevated plate pocket and a real 30 lb ceiling. If you want a general-purpose tactical pack instead, compare the 5.11 RUSH 24 2.0 and other current packs before assuming a laptop sleeve will hold a plate as securely.

Not sure which gear fits your situation? Try our gear finder for a quick recommendation.
The ideal kit (when you are ready)
After a month or two of consistent rucking, some people want purpose-built gear. Choose the current product by its job rather than treating every expensive pack as interchangeable.
For regular plate-loaded training, the GORUCK Rucker 5.0 is built around elevated plate pockets, a frame sheet, lumbar padding, and training handles. The older Rucker 4.0 belongs in the generation comparison, not as the default new purchase.
If you ruck-commute or travel with weight, the GORUCK GR1 USA is the EDC variant: same SCARS warranty, slim profile, blends into office and airport use. If the trip itself is the point and your bigger worry is pickpockets rather than pack weight, our sister site Kit Authority's anti-theft travel bags roundup covers lockable, slash-resistant options for keeping valuables safe in crowded cities.
See our complete rucking gear guide for detailed recommendations by category and budget tier.
How heavy should your ruck be?
This is the most common question we get, and the answer depends on body weight, training history, and the load you can carry without pain or a change in gait. Use the calculator near the top of this guide, then treat the result as a conservative starting ceiling rather than a number you have to reach.
Choose from your recent walking and rucking experience:
| Your current baseline | Where to start |
|---|---|
| Unloaded walking is not comfortable | Build unloaded walking first with Couch to Ruck |
| You walk 30 minutes comfortably but are new to load | Try 5 to 10 lb or less for the short starter session above |
| You already ruck regularly | Use a recent load and duration you could repeat with normal gait and stable recovery |
| You are preparing for an event | Use its current requirements and a plan suited to your recent baseline |
Body-weight percentages and labels such as intermediate cannot account for pack fit, terrain, symptoms, or recent activity. Our ruck weight calculator helps with planning; its result is not individual clearance.
Keep the load fixed while you build time. After the first month, test a load change on a shorter route and repeat that session before adding time, speed, or hills. There is no automatic weekly weight increase.
The weight guide explains how to choose and adjust a load. Army injury-prevention guidance supports combining loaded walking with strength and unloaded aerobic work. It does not establish one starting load or progression schedule for everyone.
Rucking form: the basics
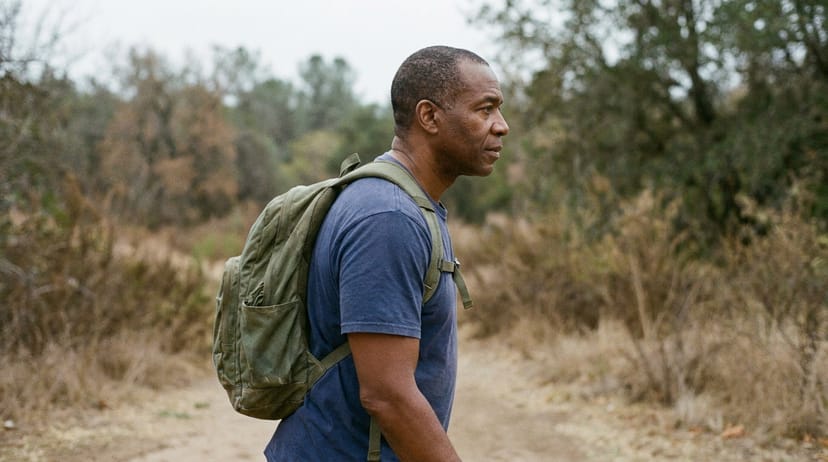
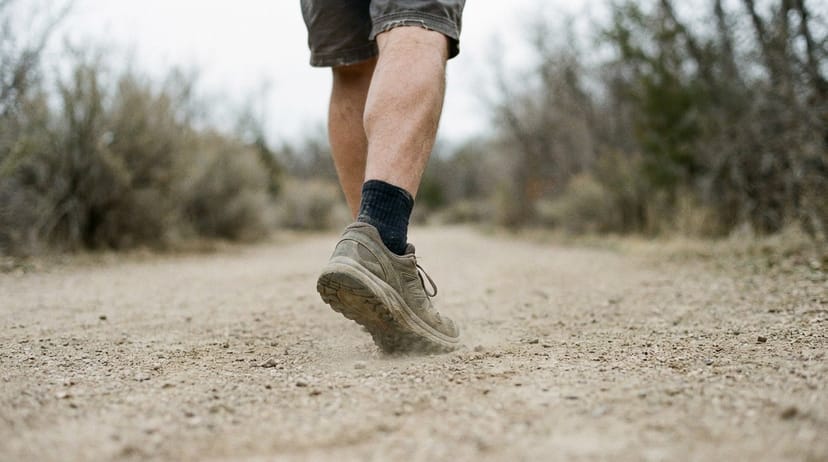
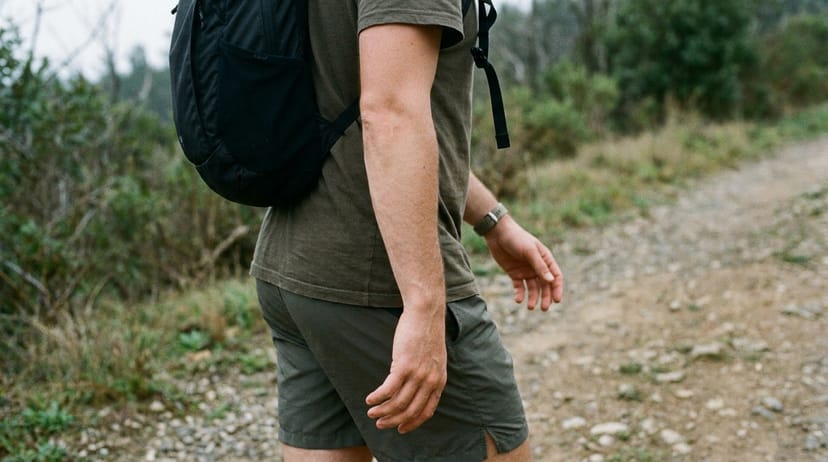
Good form under load is simple but worth getting right from day one. Bad habits get harder to fix as the weight increases. Four cues - one each for the spine, foot, hands, and breath - cover almost everything you need to think about.

Posture
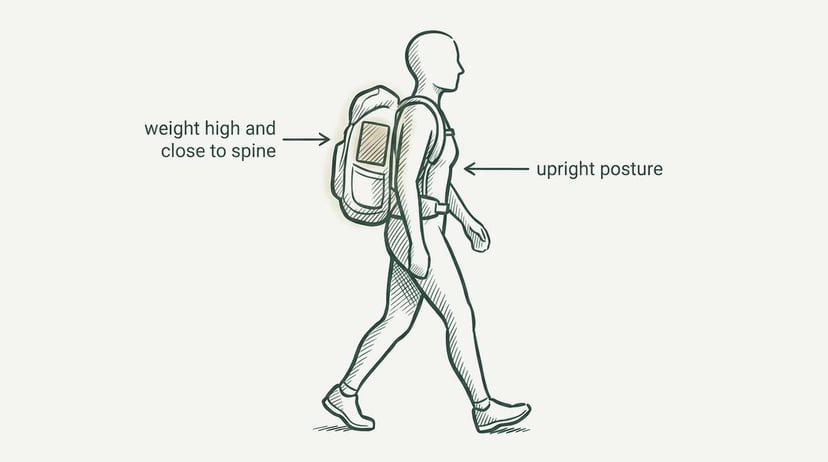
Stand tall. Imagine a string pulling the crown of your head toward the sky. Your shoulders should be back and down - not pinched together, just settled into a natural position. Lean slightly forward from your ankles, not your waist. This slight lean transfers the pack's weight through your frame rather than pulling you backward.
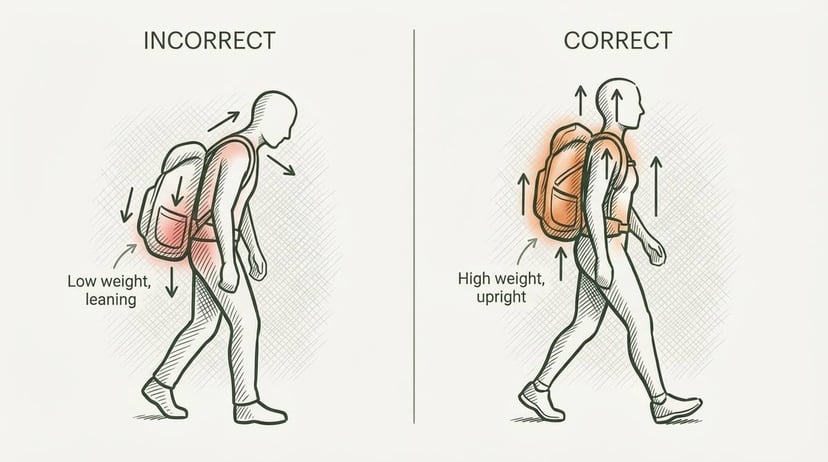
Foot strike
Land with a midfoot strike and roll through to your toes. Under load, avoid forefoot striking (landing on your toes) - it puts excessive stress on your calves and Achilles tendon. A natural heel-to-midfoot-to-toe pattern distributes impact across your entire foot. Keep your steps shorter than your normal walking stride. Overstriding is the number one form mistake we see in beginners.
Arm swing
Let your arms swing naturally. Resist the urge to grab your shoulder straps - death-gripping the straps rounds your shoulders forward and restricts your breathing. Keep your hands relaxed at your sides. If you find your hands going numb, loosen your shoulder straps slightly and check that the pack is not pressing on the nerves in your upper back.
Breathing
Use conversational effort as a simple check: you should be able to speak in full sentences. Slow down or stop when that becomes difficult. You do not need to force nasal breathing or hit a heart-rate zone during your first session.
Five common form mistakes
These are the form breakdowns we see most often in beginners. Each one is fixable in seconds once you know what to look for.
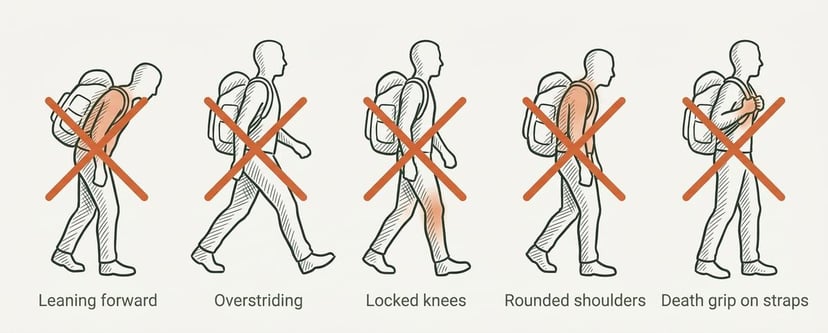
This compresses your spine and shifts the load off your skeleton onto your lower back. Fix: lean from the ankles instead - a slight forward angle through the whole body, not a hinge at the hips.
Long steps increase impact forces and tire your hip flexors fast. Fix: shorten your stride by 10 to 15 percent. Quick, light steps under your hips, not stretched out in front of you.
Locking out the knee joint transmits shock straight into the cartilage and exits the soft tissue from the equation. Fix: keep a slight, soft bend in both knees on every step. Never fully extend.
Pack weight wants to pull you forward into a slumped posture, which strains your traps and restricts your breathing. Fix: every few minutes, actively set your shoulders back and down. Imagine sliding your shoulder blades into your back pockets.
A death grip on the shoulder straps cuts off blood flow to your hands and pulls your upper back into a hunch. Fix: hands relaxed at your sides. If you feel the urge to grab the straps, your pack is probably too loose - tighten it instead of holding it.
For illustrated form cues and video demonstrations, see our full rucking form guide.
Your first ruck: a step-by-step walkthrough
Before you go
- Pack your ruck - weight high, close to your spine, straps snug with minimal bounce
- Plan your route - flat, familiar, and easy to shorten within a 20-minute walk
- Hydrate - drink 8 to 12 oz of water 30 minutes before you go
During the ruck
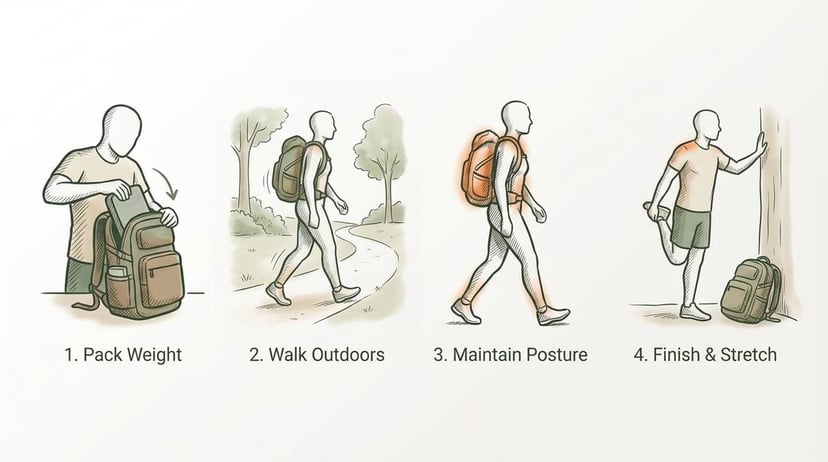
Start at an easy conversational effort. There is no minutes-per-mile target. Every five minutes, check that your pack is stable, your stride feels normal, and you can still speak comfortably.
Pay attention to hot spots on your feet. If you feel rubbing, stop and adjust your socks or lacing. A hot spot caught early is a minor annoyance; a hot spot ignored becomes a blister. Merino wool socks like Darn Tough light hikers stay dry and comfortable even on longer rucks. Applying Body Glide Original to high-friction areas before a ruck prevents blisters and chafing from the start.
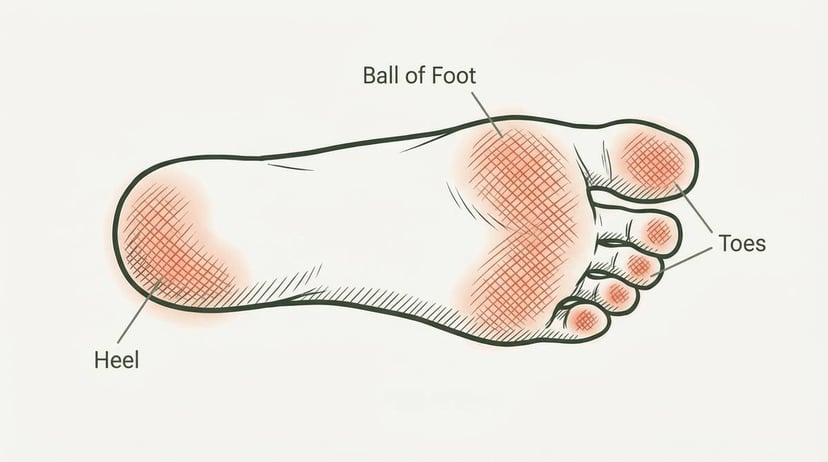
What your first ruck should feel like: Mildly challenging but very manageable. You should be able to hold a conversation. Your shoulders may feel the pack weight after 10 to 15 minutes - that is normal. Your legs should not burn. If anything feels sharp or wrong, stop and check your form, your weight, or your footwear. Mild fatigue and muscle awareness the next day is a good sign.
Your first ruck is not a test. There is no time to beat, no distance to hit, no weight to prove. Walk out, turn around, come back. You are building a habit, not setting a record.
After the ruck
Stretch your calves, hip flexors, and shoulders - these are the three areas that take the most load. Drink 16 to 20 ounces of water. Take note of how you feel.
Muscle soreness in your glutes, traps, and shoulders the next day is normal and expected. Sharp pain in your knees, shins, or feet is a signal that something was off - usually too much weight, too fast a pace, or poor footwear. Stop loaded exercise when sharp pain occurs. Get guidance if symptoms persist or make exercise uncertain before trying another loaded session.
Your first 30 days: the progression plan
Follow the First 30 Days plan for the full calendar. It uses one fixed light load, a flat route, and conversational effort throughout the month.
The plan starts with 20 minutes, adds time only when recovery is stable, and includes an easier review week. A second weekly session is optional. Leave at least one unloaded day between rucks, and repeat or shorten a session when needed.
Use Couch to Ruck if you are still building comfortable unloaded walking. If you already have a recent loaded baseline, the program builder can use that baseline and your schedule. Its generated plan is a separate option, so follow one plan rather than combining sessions from both.
Where to ruck
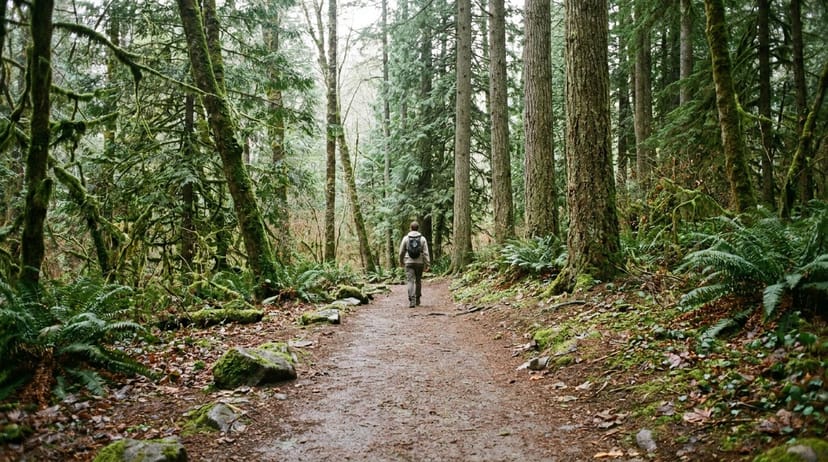
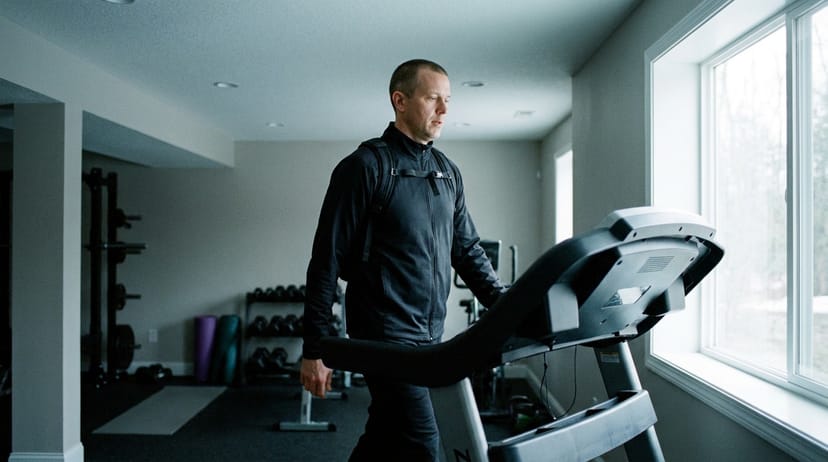
Each surface offers different benefits and trade-offs. Most ruckers use a mix.
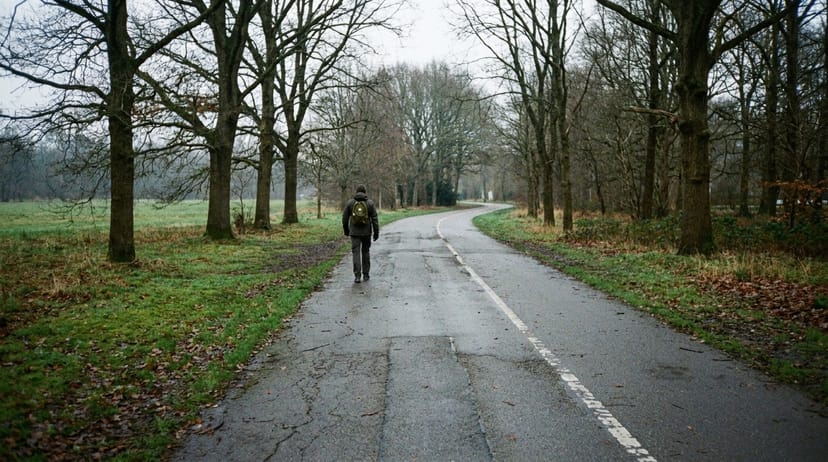
Pavement is the easiest surface to start on. It is consistent, measurable, and close to home. The downside is that hard surfaces transmit more impact to your joints, so long rucks on concrete can be fatiguing. Stick to asphalt over concrete when possible - it absorbs slightly more shock.
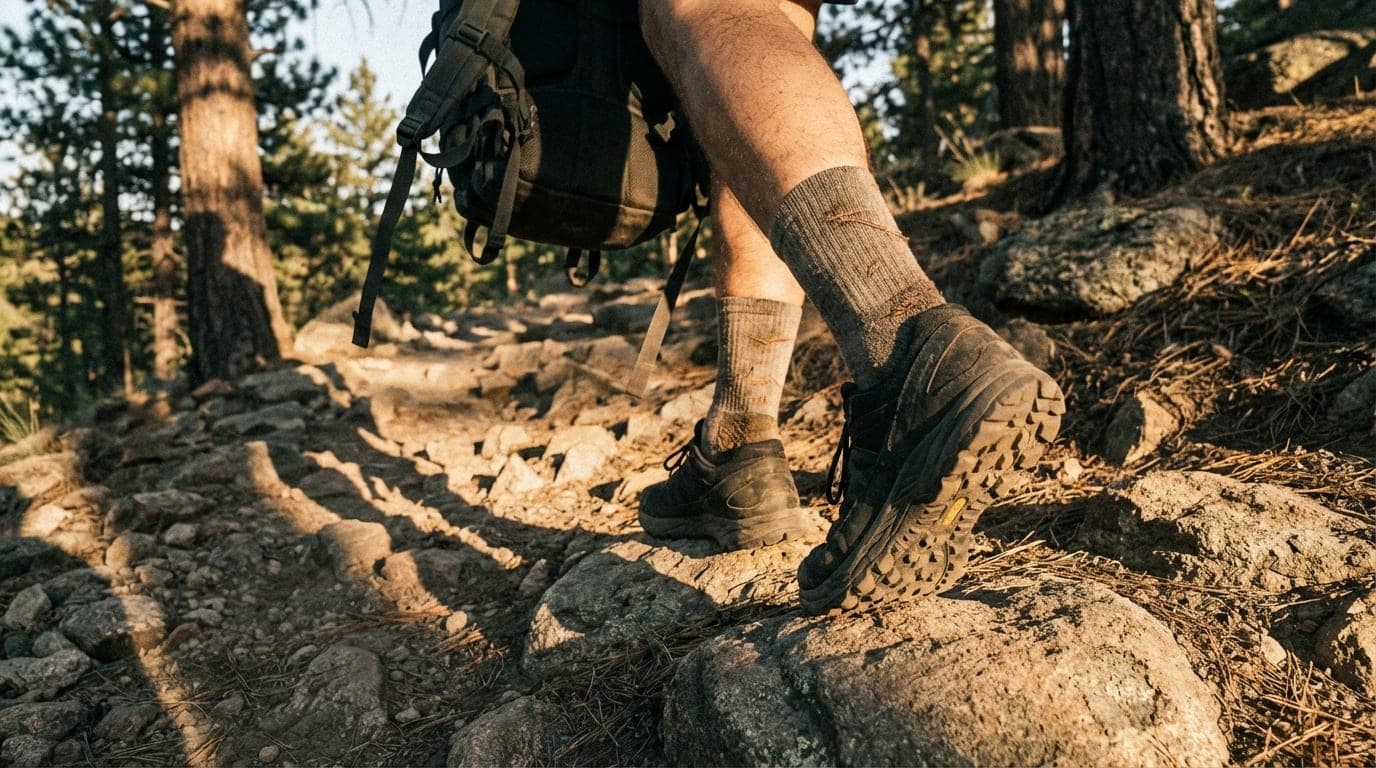
Trail engages your stabilizer muscles (ankles, hips, core) more than pavement because every step is slightly different. It is harder, which means more calories burned per mile, but also more risk of a rolled ankle - especially with a heavy pack. Start on well-groomed trails before taking weight onto technical terrain.
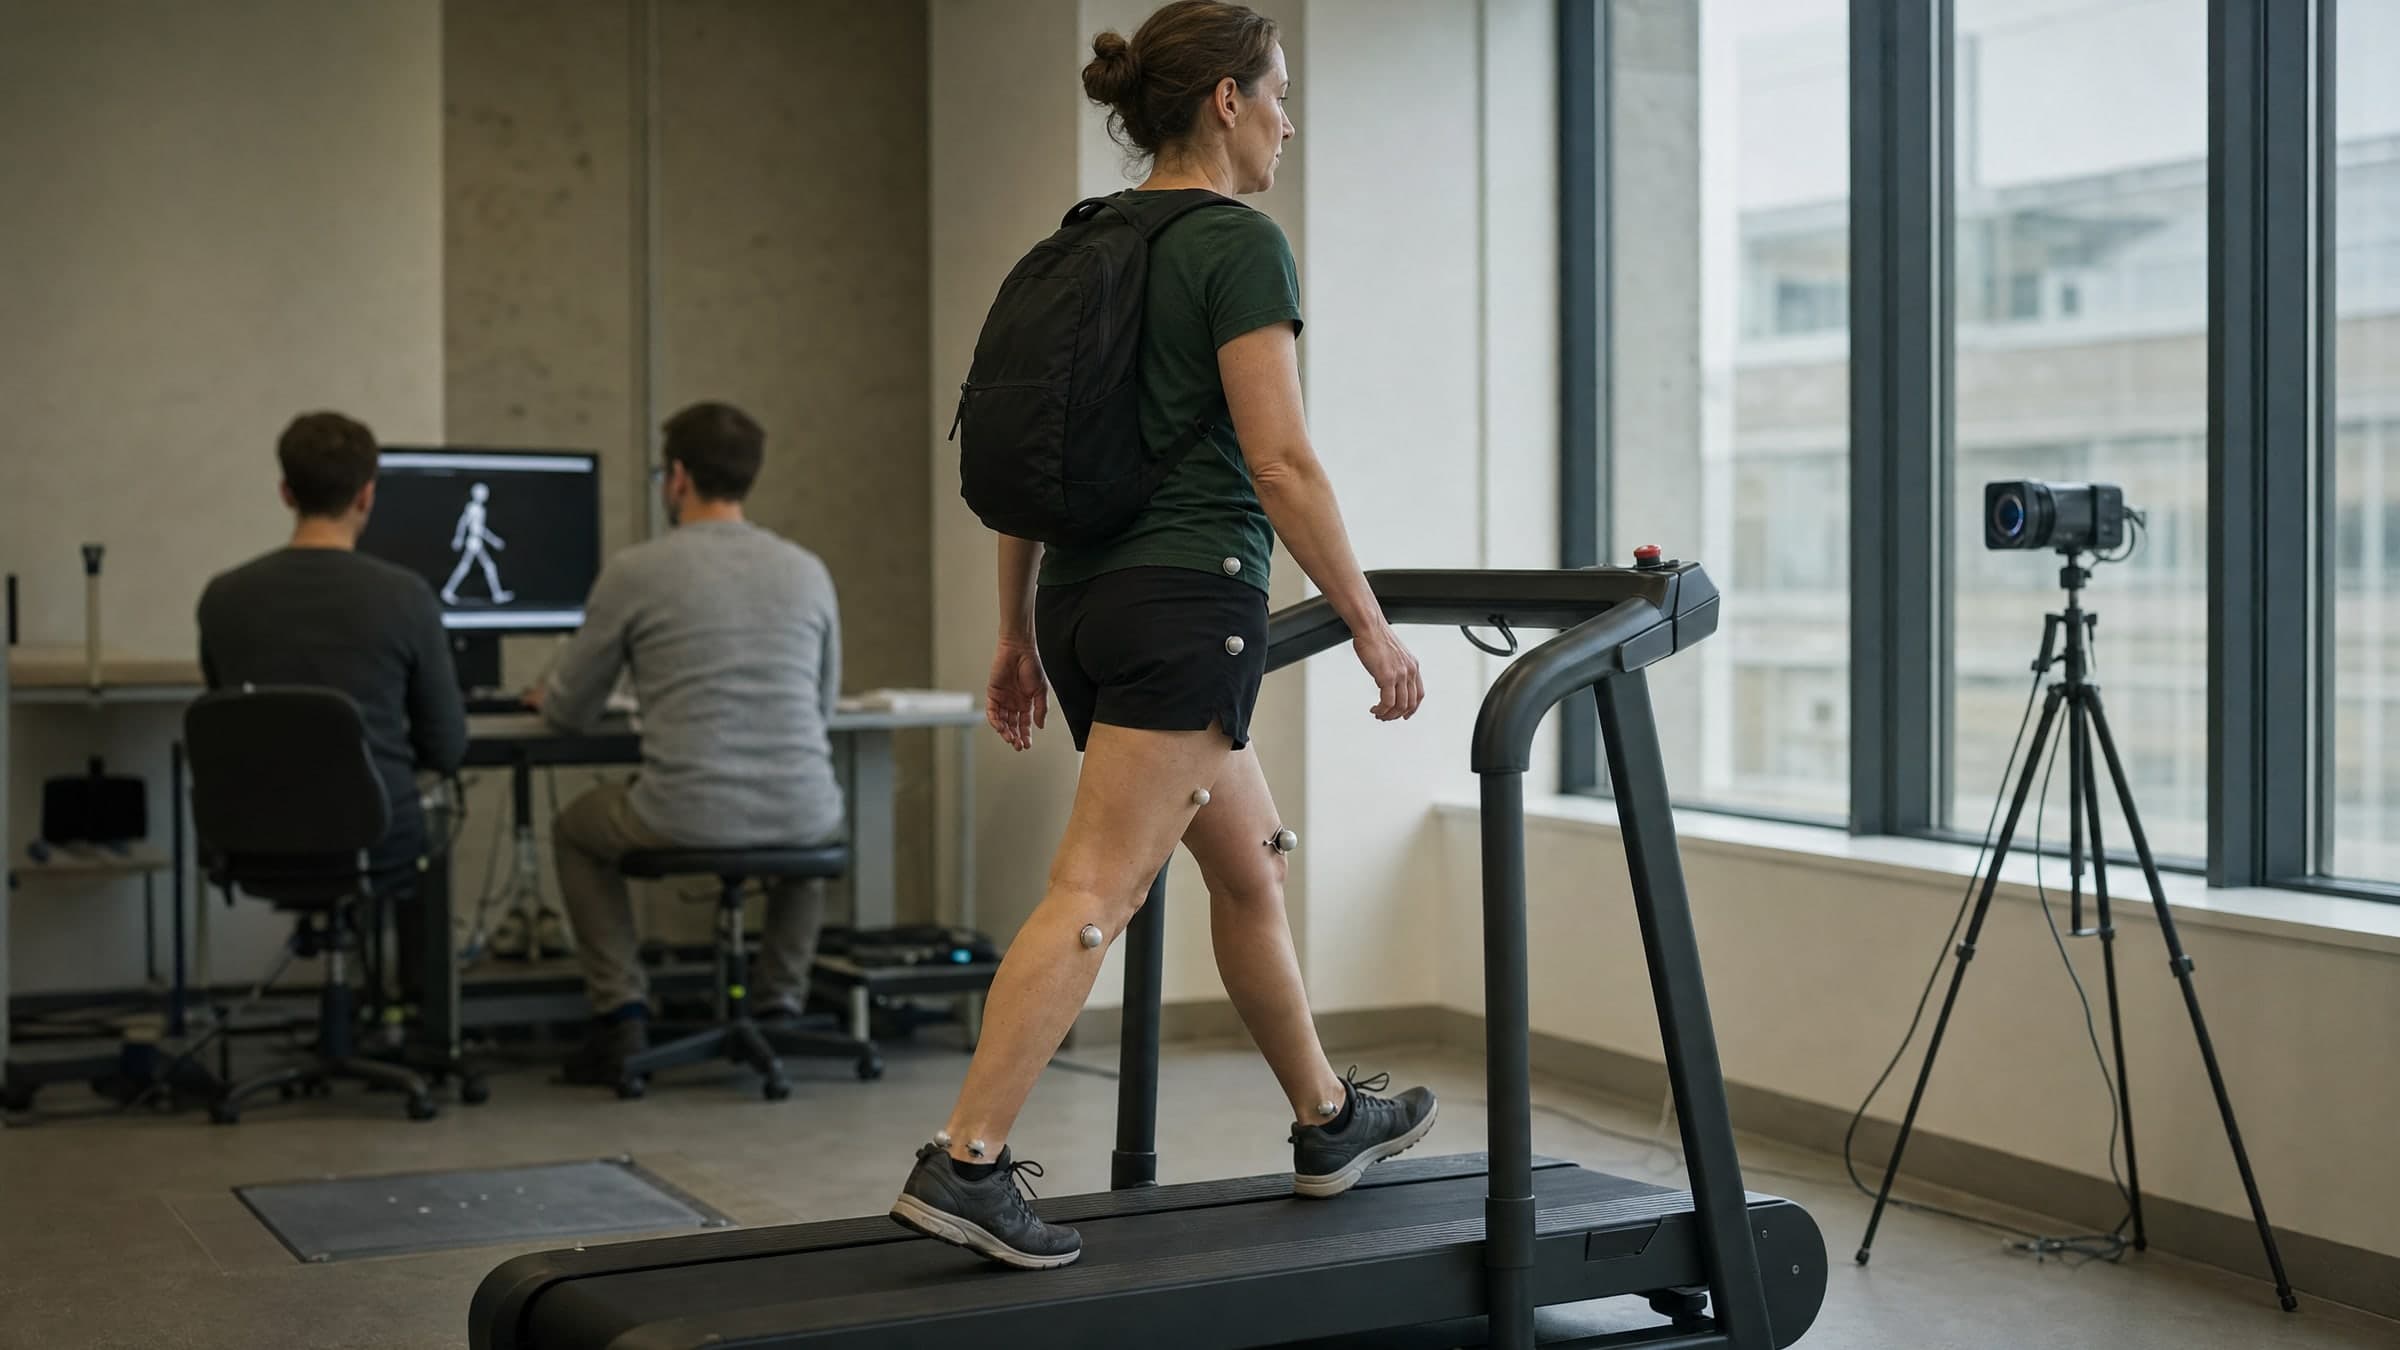
Treadmill is underrated for rucking. Set the incline to three to five percent to simulate outdoor conditions and offset the belt's assistance. It is ideal for bad weather days and for controlling variables like pace and grade.
For a detailed comparison with calorie burn data by surface type, read our full guide on pavement vs trail vs treadmill rucking. That guide is the decision page for where to train after your first few weeks. Terrain also drives shoe selection - see our best rucking shoes by terrain guide when you are ready to upgrade footwear.
Common beginner questions
Usually not, if weight and progression are appropriate. But too much load too soon can aggravate your back, especially if posture breaks down. When done correctly, rucking engages your erectors, multifidus, and deep core muscles continuously, which builds spinal stability over time. Start light, stand tall, and progress gradually. For the research, see is rucking bad for your back?
For many general-fitness goals, yes - but running remains more specific for top-end running speed and race performance. Rucking burns comparable calories at moderate loads with significantly lower injury risk. It builds more upper-body and posterior-chain strength than running. The one area where running wins is cardiovascular ceiling - if you are training for a fast 5K or a marathon PR, running is more specific. For general fitness, weight loss, and body composition, rucking is a strong replacement. See our rucking vs running comparison for the full data.
Start with one loaded session. Active walkers may add a second easy session once recovery is stable, with at least one unloaded day between. More training days can include unloaded walking or strength. See our rucking frequency guide.
Not to start. Any sturdy backpack with two shoulder straps and a main compartment that can hold 10 to 20 pounds of weight will work. Purpose-built rucksacks become worthwhile when you are consistently rucking at 25-plus pounds or going beyond three miles - at that point, the frame support, plate pocket, and padding make a real difference. Our regular backpack rucking guide shows you exactly how to set up a bag you already own.
Start with comfortable unloaded walking and get individual advice when knee pain makes exercise uncertain. Stop loaded walking for sharp pain rather than waiting for another session. Our rucking knee pain guide explains symptoms and when to get help.
Build a starter kit
The four items every new rucker needs: a pack that holds weight properly, something to weight it with, shoes that support loaded walking, and merino socks that don't chafe. Compare the current budget and long-term setups below instead of relying on prices that may already be stale.
Where to go from here
You have the fundamentals. The next step depends on what matters most to you right now.
Start with a bag, a manageable load, and 20 minutes.
Use the form and progression guidance above, then build gradually.
Frequently Asked Questions
Books are the most accessible starter weight - textbooks, hardcovers, or phone directories work perfectly. Water bottles (32-40 oz each) give you adjustable weight and double as hydration. Wrapped bricks or a bag of rice from the grocery store cost under $5 and provide consistent weight that won't shift around.
Keep at least one unloaded day between rucks. Start with one session and add an optional second only when recovery is stable. Daily loaded walking is not required; use easy unloaded activity or rest on the other days.
You should be able to speak in full sentences. Slow down when conversation becomes difficult, and stop for unusual shortness of breath or other warning symptoms. Your first rucks have no minutes-per-mile target.
Stop and check your pack positioning first - weight should sit high on your back, close to your spine. Loosen your shoulder straps slightly if they're cutting off circulation. Stop if pain persists, or if you have numbness or weakness. Get guidance before another loaded session when symptoms make exercise uncertain.
Mild soreness in your glutes, traps, and lower back is normal - these muscles are working to stabilize the load. Sharp pain or pain that worsens throughout the day is not normal and usually means too much weight, poor posture, or both. Stop loaded exercise for sharp pain and seek guidance if it persists or makes exercise uncertain.
Light dynamic movement before (arm circles, leg swings) and static stretching after works best. Focus your post-ruck stretching on calves, hip flexors, and shoulders since these areas take the most load. The article doesn't detail pre-ruck routines, but our first 30 days program includes specific warm-up sequences.
Yes. Rucking does not require jumping or other high-impact movements that create noise. Walk quietly in the hallways, use building stairs for vertical training, or head outside to the nearest sidewalk or parking lot. You can ruck anywhere you can walk safely.
Both work, but joining a club accelerates everything. Regular meetups force consistency, group pace pulls you through harder sessions, and the social component is why most people stick with rucking long-term. Browse the Ruck Club Finder for community-verified clubs across 35+ countries. If there is nothing close, the directory is also a good place to see what an active club looks like before you start one yourself.