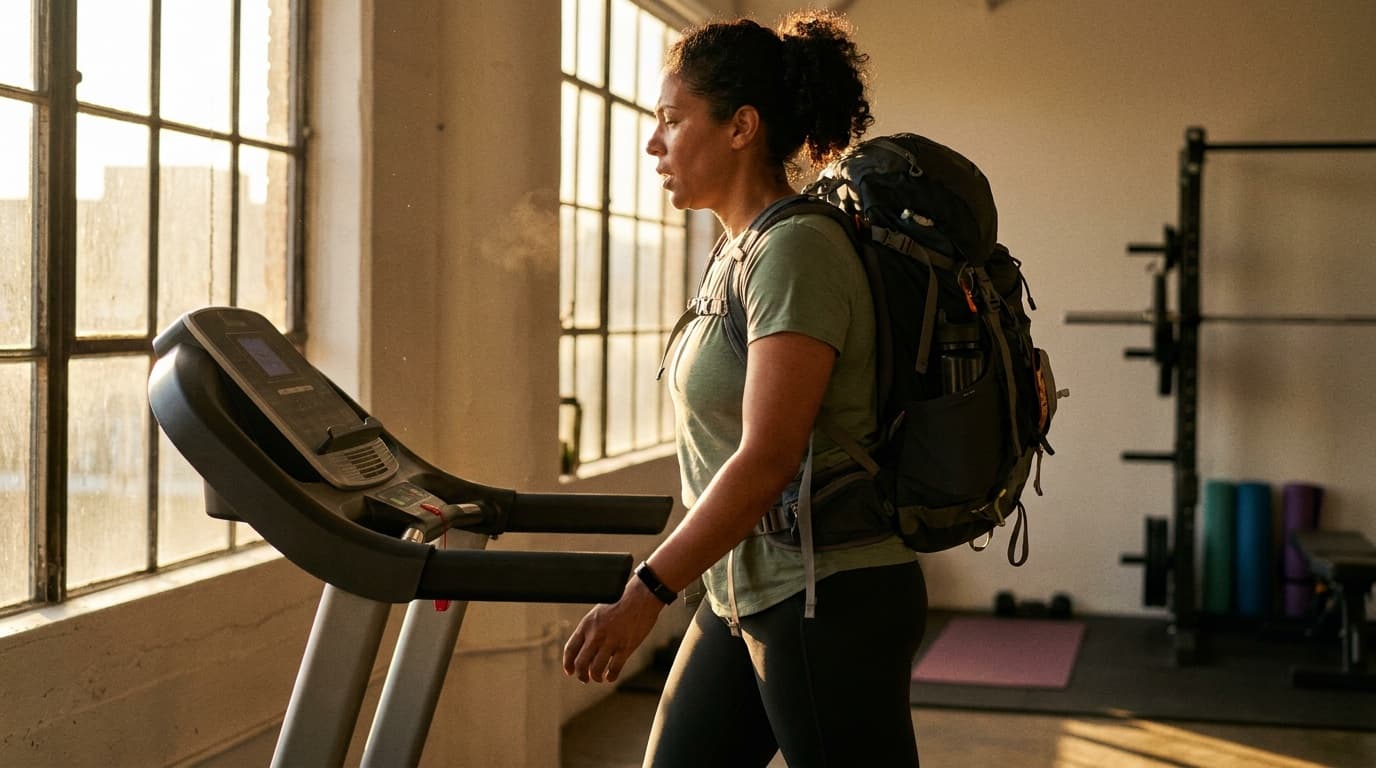
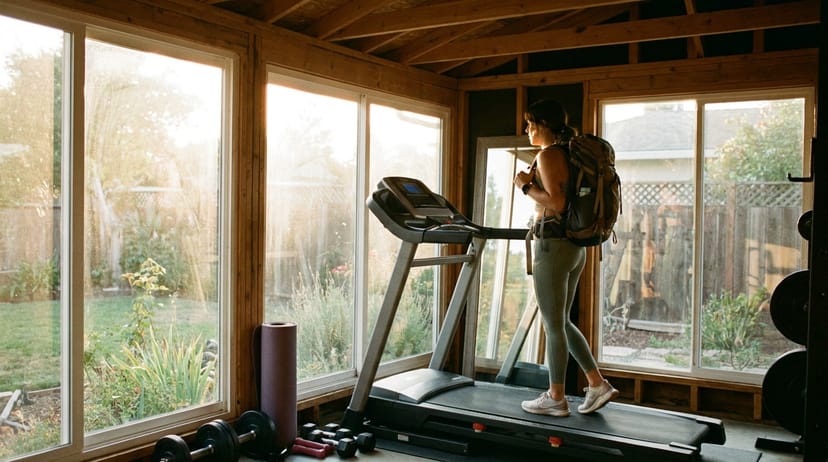
When Mother Nature isn't cooperating, the treadmill becomes your training ground. This 4-week progressive indoor rucking program keeps your conditioning sharp year-round, whether you're dealing with winter storms, summer heat waves, or just want controlled training conditions.
Indoor rucking isn't just a backup plan - it's a precision tool. The treadmill lets you dial in exact speeds, inclines, and durations that would be impossible to replicate consistently outdoors. Community feedback consistently shows that people who maintain indoor training routines through seasonal transitions see better overall progression than those who take weather-forced breaks.
A note on load progression: the plan below ramps from 15-20 lbs (Week 1) to 30-35 lbs (Week 4) - roughly a 50-75% increase. That's an aggressive curve for someone genuinely new to rucking. If 15 lbs is your starting point because you've never rucked before, add a week between each phase instead of advancing every 7 days. The standard 10% rule on weekly load increases is a safer ceiling than the headline plan implies - the four "weeks" below are better thought of as four phases, and your body, not the calendar, decides when to move between them. Already comfortable carrying 25-30 lbs? Start at Week 2 and progress on the printed timeline.
Week 1: Foundation Phase
Session 1: Base Building
- Duration: 25 minutes
- Weight: 15-20 lbs (beginners start at 15 lbs)
- Speed: 3.0-3.2 mph
- Incline: 1-2%
- Structure: Continuous walk
Session 2: Incline Introduction
- Duration: 20 minutes
- Weight: Same as Session 1
- Speed: 2.8-3.0 mph
- Structure:
- 5 min warmup at 1% incline
- 3 x 3 min at 4-5% incline
- 2 min recovery at 1% between intervals
- 3 min cooldown at 1%
Session 3: Endurance Base
- Duration: 30 minutes
- Weight: Same as Sessions 1-2
- Speed: 3.0 mph
- Incline: 2%
- Structure: Continuous walk with 30-second form checks every 5 minutes
Week 1 is about adaptation, not performance. Your tendons and connective tissue need time to adjust to the load. If you feel any joint discomfort, drop the weight by 5 lbs rather than pushing through.
Week 2: Load Progression
Session 1: Increased Load
- Duration: 28 minutes
- Weight: 20-25 lbs (5 lb increase from Week 1)
- Speed: 3.0-3.2 mph
- Incline: 2%
- Structure: Continuous walk
Session 2: Hill Intervals
- Duration: 25 minutes
- Weight: Same as Week 1 - this is deliberate. Adding load and incline in the same session compounds the stress on your tendons and connective tissue, and you can't tell which variable caused a setback if anything goes wrong. Hold weight constant when you're stepping up incline; hold incline constant when you're stepping up weight.
- Speed: 2.8-3.0 mph
- Structure:
- 5 min warmup at 1%
- 4 x 3 min at 5-6% incline
- 90 sec recovery at 1% between intervals
- 4 min cooldown
Session 3: Extended Endurance
- Duration: 35 minutes
- Weight: Week 2 load (20-25 lbs)
- Speed: 3.0 mph
- Incline: 2-3%
- Structure: Continuous walk
Week 3: Intensity Development

Session 1: Tempo Work
- Duration: 30 minutes
- Weight: 25-30 lbs
- Speed: 3.2-3.4 mph
- Incline: 2-3%
- Structure:
- 5 min warmup
- 20 min at target pace
- 5 min cooldown
Session 2: Advanced Hill Work
- Duration: 28 minutes
- Weight: 20-25 lbs (reduce for steeper inclines)
- Speed: 2.5-2.8 mph
- Structure:
- 5 min warmup at 1%
- 5 x 2.5 min at 7-8% incline
- 90 sec recovery at 1%
- 5 min cooldown
Session 3: Volume Challenge
- Duration: 40 minutes
- Weight: 25-30 lbs
- Speed: 3.0-3.2 mph
- Incline: 2-3%
- Structure: Continuous with optional 1-minute walking breaks at 20 and 30 minutes if needed
Week 4: Peak and Test
Session 1: Speed Integration
- Duration: 32 minutes
- Weight: 30-35 lbs
- Speed: 3.4-3.6 mph
- Incline: 3%
- Structure: Continuous walk
Session 2: Peak Hill Challenge
- Duration: 30 minutes
- Weight: 25-30 lbs
- Speed: 2.3-2.7 mph
- Structure:
- 5 min warmup
- 3 x 5 min at 8-10% incline
- 2 min recovery between intervals
- 5 min cooldown
Session 3: Capstone Test
- Duration: 45 minutes
- Weight: 30-35 lbs
- Speed: 3.2 mph
- Incline: 3%
- Structure: Continuous walk - this is your fitness benchmark
Essential Setup Guidelines
Equipment Configuration
Weighted Vest Setup:
- Distribute weight evenly front and back. A snug, low-profile vest like the Hyperwear Hyper Vest Pro wins for treadmill use - it sits flat against the torso and doesn't bounce on the belt.
- Test shoulder mobility with deep breaths before starting
- Ensure you can maintain upright posture without forward lean
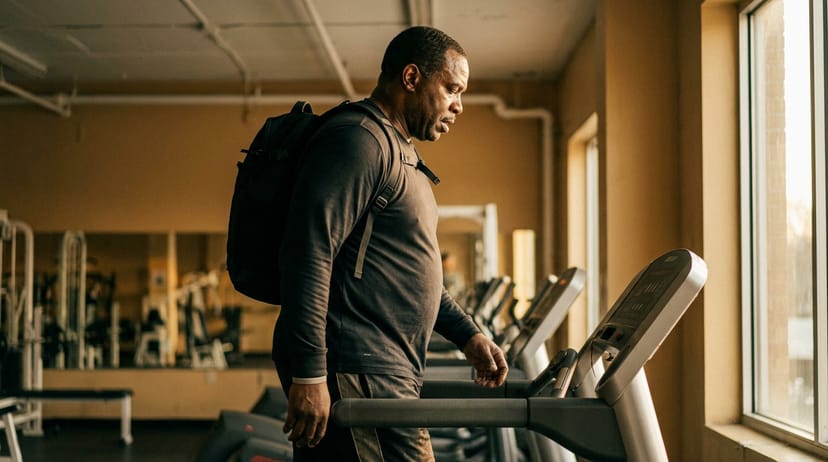
Backpack Setup:
- Keep weight high and close to your back. Packs with a dedicated plate pocket - the GORUCK GR1 and similar - sit closer to the spine than frame packs, which matters more on a treadmill than outdoors because there's no terrain-induced shift to absorb pack sway.
- Tighten all straps to prevent bouncing - even a small bounce gets amplified across 1,500 belt cycles in a 30-minute session.
- Use a pack with a waist belt for sessions over 30 minutes.
- For dedicated training weight, a Titan Fitness Ruck Plate (budget-friendly steel, sits high in the pack pocket) beats stacking household items - the load stays in one place across all 12 sessions.
Treadmill Settings:
- Always use 1-3% incline minimum to simulate outdoor resistance
- Keep safety clip attached
- Position water bottle within easy reach. A heart-rate watch like the Garmin Instinct 3 Solar is useful here - the same pace at the same incline should produce a slightly lower HR as the program progresses, which is the cleanest "I'm getting fitter" signal a treadmill can give you.
Form Checkpoints
Community consensus emphasizes these form cues for treadmill rucking:
- Posture: Chest up, shoulders back, eyes forward
- Stride: Natural walking gait, avoid overstriding
- Foot placement: Midfoot strike, not heel pounding
- Arms: Natural swing, hands relaxed
- Breathing: Rhythmic and controlled
Set a timer to check your form every 5 minutes. Treadmill rucking can lead to gradual posture degradation as fatigue sets in. Brief form resets prevent bad movement patterns from becoming ingrained.
Programming Variations
For Advanced Practitioners
If you're already comfortable with 35+ lb loads:
- Start Week 1 at 25-30 lbs
- Progress by 5-10 lbs per week
- Add speed intervals: 30 seconds at 4.0+ mph during endurance sessions
For Beginners
If 15 lbs feels challenging:
- Start with 10 lbs and progress more gradually
- Extend each week by 2-3 days before progressing
- Focus on time completion before adding weight
Weather Integration Strategy
The treadmill isn't a replacement for outdoor rucking - it's a complement that lets you keep training honest when conditions outside would force you to skip. The mix depends on what's keeping you indoors:
- Winter / icy conditions (significant cold, snow, or dark before late afternoon): 2-3 indoor sessions per week, 1 outdoor session on the warmest/longest-light day. The outdoor day keeps your terrain conditioning live; the indoor days bank volume without the cold-stress recovery tax. See our winter rucking guide for outdoor-day layering and traction.
- Extreme heat (high heat index where you're feeling the load early in the session): split your week to dawn outdoor sessions (before the sun loads up) and afternoon indoor sessions in air conditioning. Two indoor / one outdoor minimum until your body finishes the 10-14 day heat adaptation window.
- Travel (hotel gyms, business trips, vacations): one indoor session every 2-3 days using whatever weight you can construct from your travel pack plus stowable load. Maintains the habit and aerobic base without trying to match home volume.
- Recovery from injury or illness: indoor-only for 1-2 weeks of return-to-load progression - the controlled surface and predictable terrain remove every variable except the load itself, which is what you're trying to titrate.
The trap to avoid: using the treadmill as the ONLY tool because it's convenient. Indoor-only training degrades the proprioceptive and ankle-stabilizer adaptations that come from real ground. Aim for at least one outdoor session per week whenever the weather isn't actively dangerous.
Recovery and Adaptation
Recovery demands for indoor rucking are roughly similar to outdoor at matched intensity, but two factors shift the picture: treadmill belts produce more consistent gait cycles (which can amplify any small form flaw across more reps), and heated gym air spikes fluid loss faster than most people notice. Community feedback suggests these recovery protocols:
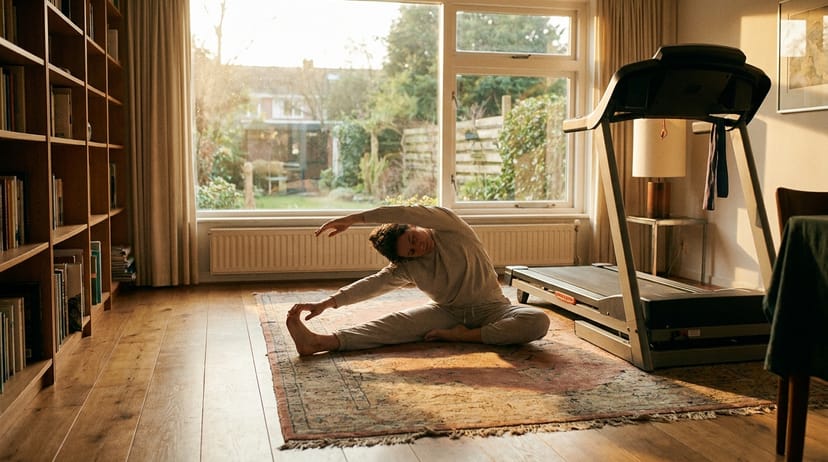
- Active recovery: 10-15 minute walks without weight on off days, ideally outdoors for proprioceptive variety.
- Hydration focus: treadmill training in heated gyms increases fluid needs - aim for 16-20 oz per 30 minutes of session, and rehydrate post-session with electrolytes if you've been sweating heavily.
- Form audits between sessions: take 30 seconds before each session to check your reflection or use your phone camera - the controlled environment makes any creeping form issue (forward lean, shrugged shoulders, heel pounding) easy to see and easier to fix.
- Pack-and-strap maintenance: indoor sessions get done in t-shirts, which means more friction between your pack straps and bare skin than outdoor sessions where you're usually in a jacket or long-sleeve. Lubricate friction points the same way you would for a long outdoor ruck.
Beyond the 4-Week Program
This program establishes your indoor training foundation. After completion, reviewers consistently recommend these progressions:
Maintenance Phase: Repeat Week 4 structure with gradual load increases Specialization Phase: Add calisthenics breaks (pushups, squats) between walking intervals Competition Prep: Extend Week 4 sessions to 60+ minutes for event preparation
The beauty of indoor programming lies in its repeatability and precision. You can't control the weather, but you can control your training response to it.
Frequently asked questions
Both work well, but weighted vests distribute load more evenly and eliminate bounce on treadmills. Community feedback favors vests for sessions under 45 minutes and backpacks for longer endurance work where you can practice gear setup.
Start with 1-2% incline minimum. The 1% adjustment comes from a well-known finding in Jones and Doust (1996), Journal of Sports Sciences - they showed that a 1% treadmill grade more accurately reflects the energetic cost of outdoor running at moderate speeds, because it offsets the absence of wind resistance and the assist from the moving belt. For loaded walking specifically, most indoor ruckers find 2-3% feels equivalent to flat outdoor pavement.
Break sessions into mental chunks - every 10 minutes focus on different aspects like posture, breathing, or pace. Many experienced indoor ruckers use podcasts or music, but avoid anything that compromises your form awareness.
Yes, but start conservatively. Begin with 10-15 lbs for Week 1 and extend each week by a few extra days if needed. The key is consistent completion rather than aggressive weight progression.
Indoor rucking gives you precise control over intensity but flattens out the proprioceptive demand. Cardiovascular work is similar at matched HR zones, but the unevenness of real terrain - cambered sidewalks, root-strewn trails, the constant micro-corrections - is what makes outdoor rucking build balance and stabilizer strength that the treadmill can't replicate. Both have a place. Use the treadmill to keep training honest when the weather isn't.
Drop the weight by 5-10 lbs immediately and focus on form. If discomfort persists, substitute some sessions with unweighted incline walking. Joint adaptation takes longer than cardiovascular adaptation in rucking.


