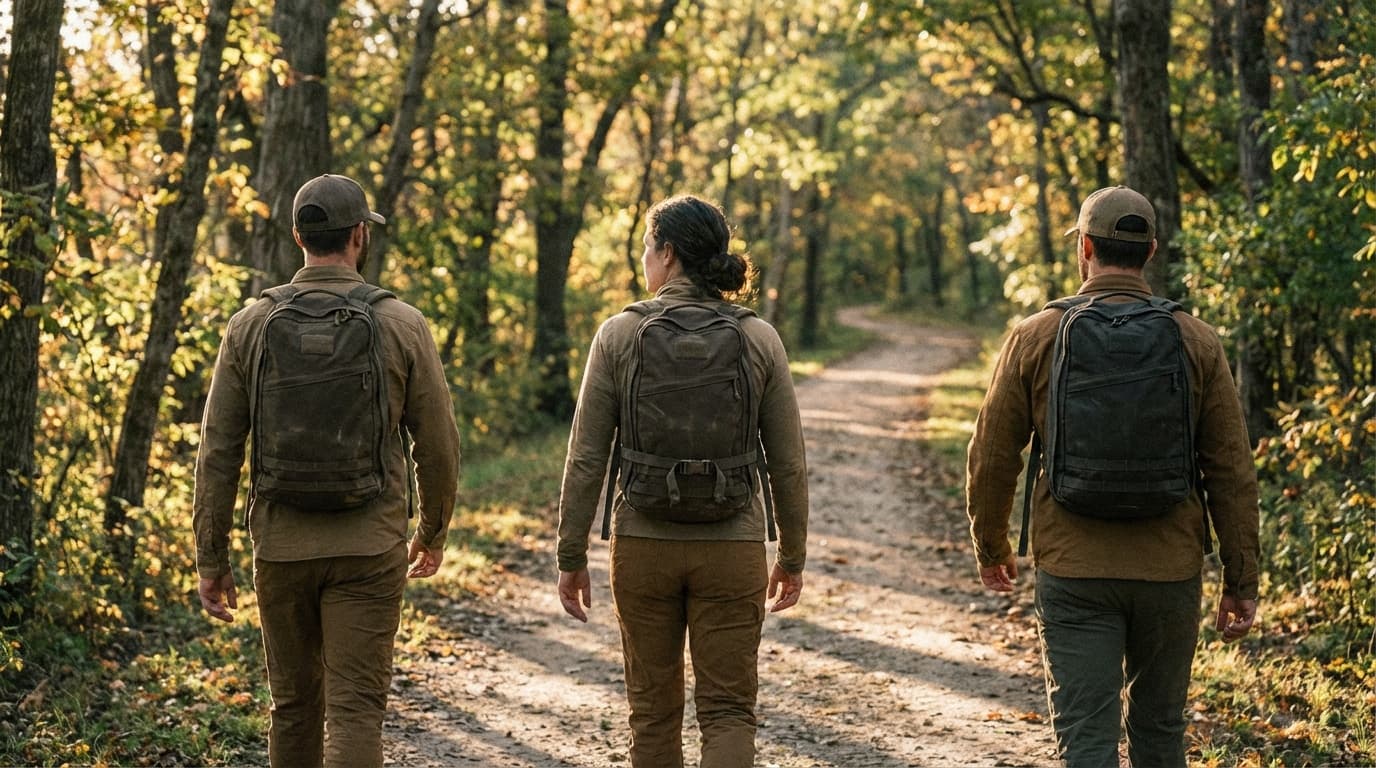
Sharp, burning pain shooting down the front of your shins can derail weeks of training progress. Shin splints - technically called medial tibial stress syndrome - represent one of the most common overuse injuries in rucking, accounting for a significant portion of training setbacks among both beginners and experienced ruckers.
The good news? Shin splints are largely preventable when you understand the biomechanical factors that drive them and implement research-backed prevention strategies. This guide covers everything from early warning signs to evidence-based recovery protocols, helping you keep your training on track.
Understanding shin splints in rucking
Medial tibial stress syndrome manifests as pain along the inner edge of the shinbone (tibia), typically developing 4-6 inches above the ankle. The pain results from inflammation of the muscles, tendons, and bone tissue surrounding the tibia - essentially an overuse injury where tissues break down faster than they can repair.
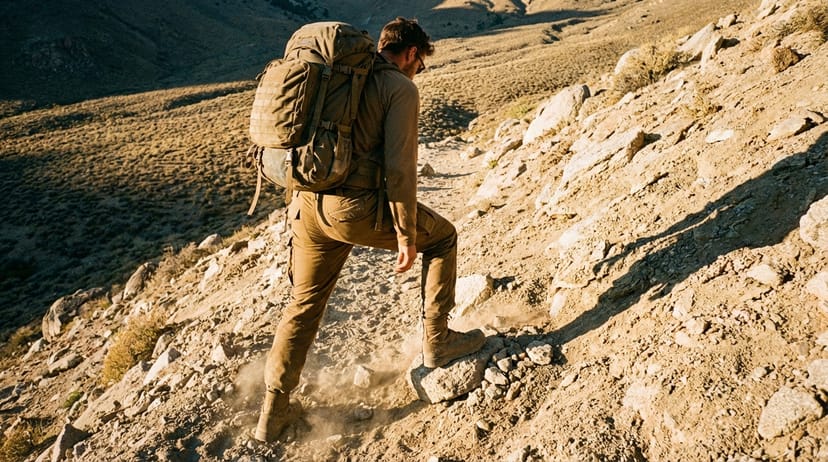
In rucking specifically, shin splints develop when the added load of a weighted pack increases ground reaction forces while your lower leg tissues haven't adapted to handle the stress. Every step with a 30-pound pack generates significantly more impact than unloaded walking, and when volume or intensity increases too rapidly, the shinbone area becomes inflamed and painful.
Studies show that loading the spine and lower extremities with external weight increases ground reaction forces by 15-25% compared to unloaded walking, explaining why ruckers experience higher rates of lower leg overuse injuries compared to regular walkers.
The condition typically starts as mild soreness that worsens with continued activity. Left untreated, medial tibial stress syndrome can progress to stress fractures - a much more serious injury requiring months of recovery.
Primary causes in loaded walking
Several factors combine to create the perfect storm for shin splints in rucking:
Rapid volume increases represent the most common trigger. When ruckers jump from 10 miles per week to 25 miles per week, or suddenly add significant pack weight, the lower leg tissues can't adapt quickly enough. The 10% weekly increase rule exists for good reason.
Surface selection plays a crucial role. Concrete and asphalt provide zero shock absorption, transferring maximum impact force up through the kinetic chain. Months of exclusive pavement rucking significantly elevates shin splint risk compared to mixed-surface training.
Footwear issues contribute substantially. Worn-out shoes lose their cushioning properties, while new shoes that don't match your gait pattern can alter stride mechanics in problematic ways. Many ruckers develop shin splints after switching to minimalist footwear without proper transition periods.
Pack loading and position affect lower leg biomechanics. An improperly fitted pack that bounces or shifts weight can force compensatory movement patterns that overload the shins. High pack positioning changes your center of gravity, potentially altering foot strike patterns.
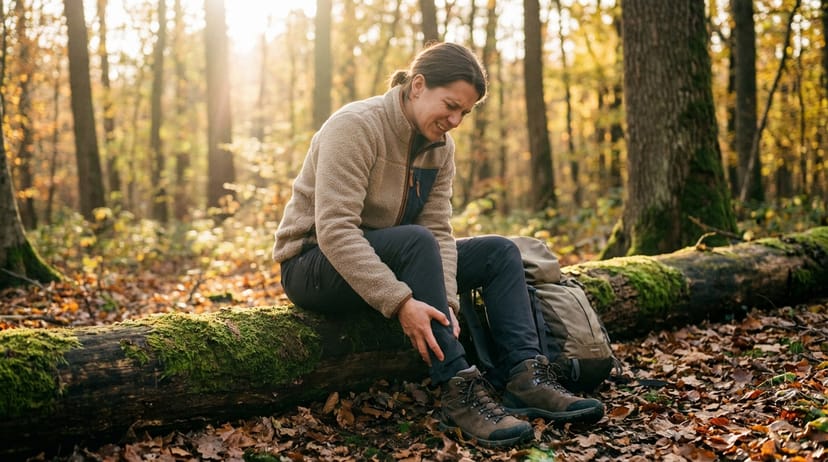
Recognizing early warning signs
Catching shin splints early dramatically improves treatment outcomes. The progression typically follows a predictable pattern:
Stage 1 involves mild soreness along the inner shin that appears during activity but disappears quickly with rest. You might notice slight tenderness when pressing along the shinbone, but it doesn't affect daily activities.
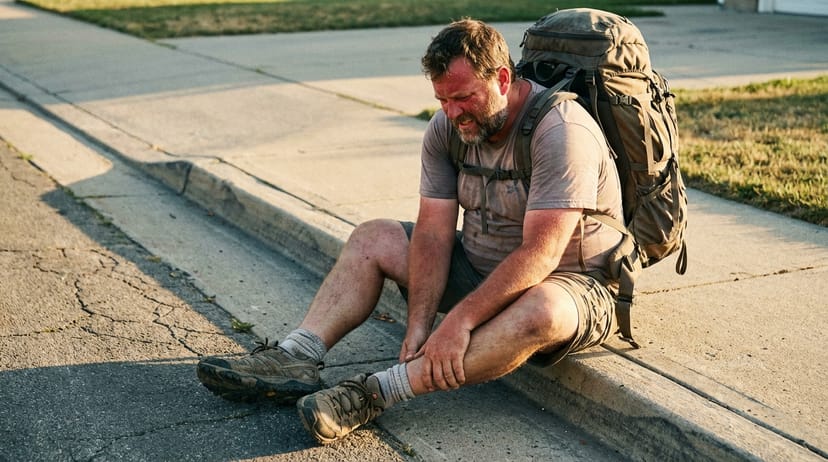
Stage 2 shows pain that persists for hours after rucking and becomes noticeable during normal walking. The tender area along the shin becomes more defined, and you might experience mild swelling.
Stage 3 presents constant pain that interferes with daily activities. Even walking upstairs becomes uncomfortable, and the pain doesn't fully resolve between training sessions.
If you experience pinpoint pain that doesn't spread along the shin, or pain that doesn't improve with rest, seek medical evaluation immediately. These symptoms suggest possible stress fracture rather than medial tibial stress syndrome.
The key distinction between shin splints and stress fractures lies in pain distribution and response to rest. Shin splints typically involve diffuse pain along 4-6 inches of the shinbone that improves with rest, while stress fractures create localized, pinpoint pain that persists even during rest periods.
Research-backed prevention strategies
Prevention centers on gradual adaptation and smart training practices:
Progressive loading forms the foundation of prevention. Increase either weekly mileage or pack weight by no more than 10% per week, never both simultaneously. If you're currently rucking 15 miles weekly with a 20-pound pack, either increase to 16-17 miles with the same weight, or maintain 15 miles while adding 2-3 pounds.
Surface variety reduces repetitive stress patterns. Alternate between pavement, trails, grass, and track surfaces throughout your training week. Soft surfaces like grass and dirt trails provide natural shock absorption that reduces lower leg loading.
Proper footwear management involves replacing shoes every 300-500 miles and transitioning gradually to new models. When switching shoe types, reduce your normal volume by 30-50% for the first two weeks to allow adaptation to new movement patterns. If you're rucking heavy miles on pavement, a max-cushion option like the Hoka Bondi 9 takes a meaningful bite out of the impact reaching your shins.
Keep a training log that tracks mileage, pack weight, surfaces, and any pain or discomfort. This data helps identify patterns before problems become serious injuries.
Strength training addresses muscular imbalances that contribute to shin splints. Focus on calf raises, toe raises, and single-leg stability exercises. Strong posterior chain muscles (calves, glutes) help absorb impact forces before they reach the shins.
Mobility work maintains proper movement patterns. Tight calves and restricted ankle mobility force compensatory movements that overload the shins. Daily calf stretching and ankle mobility exercises support healthy movement mechanics.
Pack fit and loading considerations

Proper pack setup directly impacts lower leg health. A well-fitted pack should sit close to your back without excessive bouncing or weight shifting. The load should center over your hips, not your shoulders, maintaining your natural gait pattern.
Weight distribution within the pack matters significantly. Keep heavy items close to your back and centered between your shoulder blades. Avoid loading weight too high or too low, as both positions alter your center of gravity and can force compensatory movement patterns.
Hip belt usage becomes crucial for heavier loads. A properly adjusted hip belt transfers pack weight to your hips rather than your shoulders, reducing the load on your lower legs and maintaining better posture throughout longer rucks.
Consider starting with a quality entry-level pack like the Osprey Tempest 20 Women's for those with smaller frames, ensuring proper fit before advancing to heavier loads.
Safe training progressions

Building shin splint resistance requires patience and systematic progression. New ruckers should start with 15-20 pounds for 2-3 miles, focusing on maintaining proper form rather than hitting distance or weight targets.
Weekly progression should follow the 10% rule religiously. If you completed 12 total miles last week, aim for 13-14 miles this week. This gradual approach allows bone and soft tissue adaptation without overwhelming recovery capacity.
Load progression should be even more conservative than distance increases. Add 2-5 pounds every 2-3 weeks rather than weekly weight increases. Your skeletal system adapts more slowly than your cardiovascular system, requiring patience for safe development.
Recovery integration must be planned, not accidental. Include at least one complete rest day per week, and consider implementing easy weeks every fourth week where you reduce volume by 20-30%.
Early intervention protocols

When you notice early-stage shin discomfort, immediate action prevents progression to serious injury:
Activity modification involves reducing volume by 30-50% and switching to softer surfaces. If you normally ruck 5 miles on pavement, drop to 2-3 miles on grass or trails until symptoms resolve.
Ice application helps control inflammation. Apply ice for 15-20 minutes after training sessions, but avoid icing for longer periods which can impair healing.
Cross-training substitution maintains fitness while reducing lower leg stress. Swimming, cycling, or upper body strength training allow continued conditioning without impact loading.
Studies demonstrate that early intervention within the first week of shin pain symptoms results in 2-3 week recovery times, while delayed intervention can extend recovery to 8-12 weeks or longer.
Return-to-activity guidelines require symptom-free walking before progressing to loaded walking, then gradual reintroduction of previous training loads. Most successful recoveries follow a 50%-75%-100% progression over 1-2 weeks.
When to seek medical attention
Certain symptoms require professional medical evaluation rather than self-treatment:
Pain that doesn't improve with 48-72 hours of rest suggests more serious tissue damage. Localized, pinpoint pain differs from the diffuse discomfort of typical shin splints and may indicate stress fracture development.
Persistent nighttime pain or pain that worsens with rest are red flag symptoms requiring immediate medical attention. Normal shin splints improve with rest and activity cessation.
Visible swelling, redness, or warmth along the shin indicates significant inflammation that may benefit from medical intervention. While minor swelling is common with shin splints, pronounced inflammatory signs suggest more serious injury.
Recovery and return-to-training protocols
Successful recovery requires patience and systematic progression. Complete rest from impact activities for 1-2 weeks allows initial tissue healing, but extended inactivity isn't necessary or beneficial.
Phase 1 recovery focuses on pain reduction and inflammation control. Avoid painful activities while maintaining pain-free movement and gentle stretching. Cross-training activities that don't cause shin pain can continue.
Phase 2 recovery involves gradual return to walking. Start with 15-20 minutes of unloaded walking on soft surfaces. Progress only when completely pain-free during and after activity.
Phase 3 recovery reintroduces loaded walking. Begin with 50% of your pre-injury pack weight and distance. If pain-free for one week, progress to 75% of previous levels.
Phase 4 recovery returns to full training loads. Only advance to this phase after completing Phase 3 without any discomfort. Plan for this progression to take 4-6 weeks minimum.
Long-term prevention maintenance
Preventing shin splint recurrence requires ongoing attention to training variables:
Surface rotation should become a permanent training practice. Aim for no more than 50% of weekly volume on hard surfaces like concrete and asphalt.
Strength maintenance through regular calf and shin strengthening exercises provides ongoing protection against tissue breakdown. Two 15-minute sessions per week maintain adequate strength levels.
Equipment monitoring includes tracking shoe mileage and replacing footwear before cushioning degrades significantly. Many experienced ruckers rotate between two pairs of shoes to extend overall lifespan.
Load management requires lifetime vigilance about progression rates. Even experienced ruckers must respect the 10% rule when returning from breaks or advancing to new training levels.
Frequently asked questions
Shin splints cause diffuse pain along 4-6 inches of the inner shinbone that improves with rest, while stress fractures create pinpoint pain that persists even during rest periods. If you experience localized, constant pain that doesn't improve with 48-72 hours of rest, seek medical evaluation immediately.
No, continuing to ruck through shin pain typically worsens the condition and extends recovery time. Reduce your training volume by 30-50% and switch to softer surfaces until you can complete activities completely pain-free. Early intervention prevents minor issues from becoming serious injuries.
Plan for a 4-6 week gradual return to full training loads. Start with unloaded walking on soft surfaces, then progress through 50%, 75%, and finally 100% of your previous training volume. Only advance when you can complete each phase completely pain-free for one full week.
Softer surfaces like grass, dirt trails, and tracks provide natural shock absorption that reduces lower leg loading. Aim for no more than 50% of your weekly rucking volume on hard surfaces like concrete and asphalt. Alternating between different surface types throughout the week helps prevent repetitive stress patterns.
Ice after training sessions only when you experience discomfort or early warning signs of shin splints. Routine icing of healthy tissue isn't necessary and may actually impair normal adaptation processes. Apply ice for 15-20 minutes when experiencing shin discomfort, but avoid longer applications.
Reduce your training volume by 30-50% immediately when you notice early shin splint symptoms. If you normally ruck 20 miles per week, drop to 10-14 miles until symptoms completely resolve. This early intervention typically allows recovery within 2-3 weeks rather than the 8-12 weeks required if you ignore early warning signs.


